DIY Neutral Pom Pom Holiday Wreath

I’m never early for anything. I try to be on time, I really do…but I always seem to run late. But since I started blogging, I’ve become an early bird with my holiday and seasonal decor. That’s why I’m sharing a pom pom wreath today, the first week of November.
I’ve also joined my blogging friends from the At Home DIY group for the annual Deck the Home blog hop. You can check out my wreath from last year HERE. We’ll be sharing our holiday decor with you for the next six weeks! The first challenge is door decor, and I can’t wait to show you how I made this cute Neutral Pom Pom Holiday Wreath!

Here’s what you’ll need:
- Grapevine wreath (mine is 14 inches wide)
- 2-3 large skeins of yarn
- sharp scissors
- hot glue gun and glue sticks
- trimmings to decorate the wreath (I used a metal “Welcome” sign from Dollar Tree, a faux bird and vintage silver ornament picks).

Step 1.
Start making the pom poms. These are super easy, but they will take you the most time to make. I like to make them while I’m watching TV. First, grasp a piece of yarn and hold it in place with your thumb.

Step 2.
Wrap the yarn around four fingers.

Step 3.
Keep wrapping until the yarn is about an inch thick on both sides of your hand.

Step 4.
Carefully remove the yarn from your hand, making sure it keeps it’s shape.


Step 5.
Cut an 8 inch piece of yarn and place it under the pom pom.

Step 6.
Cinch the pom pom tight in the middle and tie a knot.


Step 7.
Cut the loops on both sides.

Step 8.
Trim the yarn until the pom pom is round and somewhat even.


Step 9.
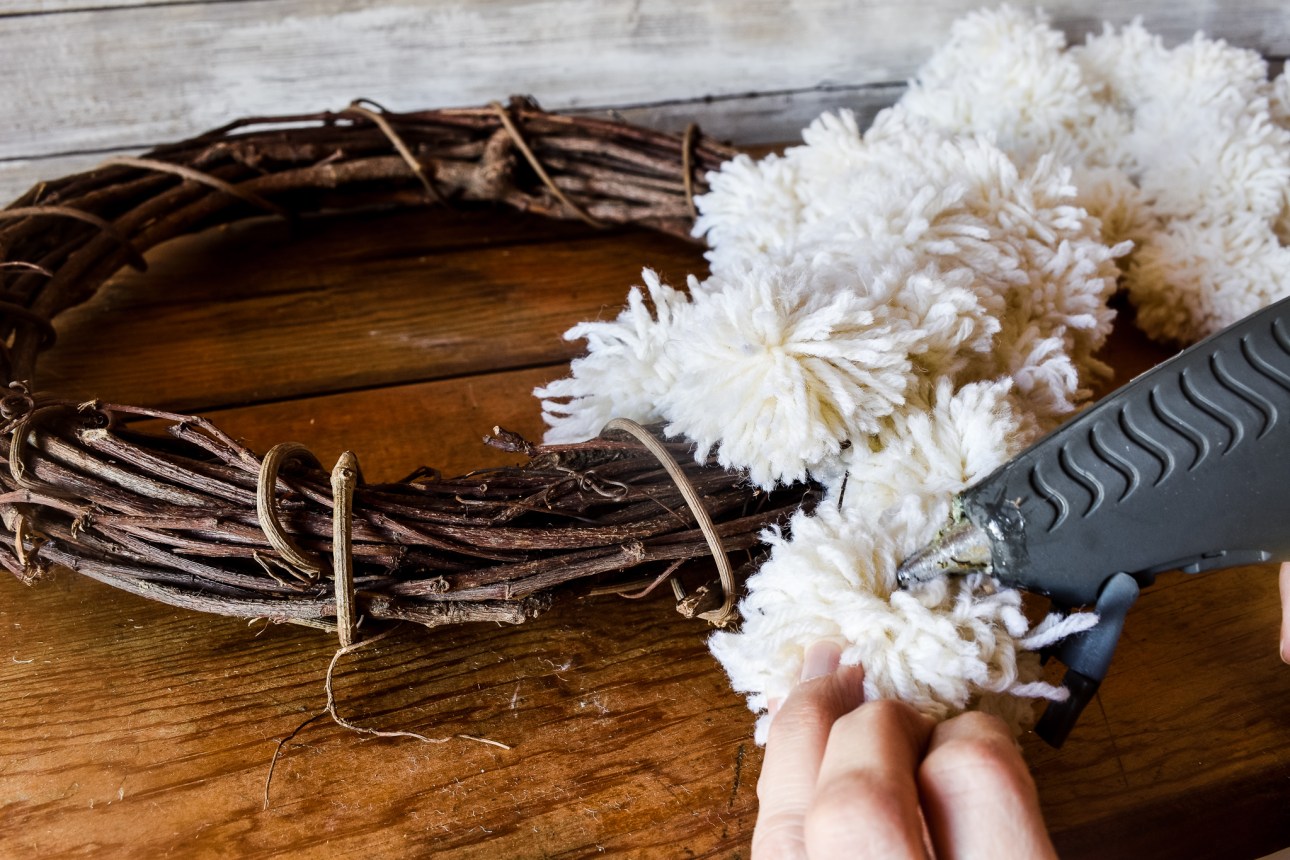
Once you’ve made enough pom poms, start hot gluing them to the grapevine wreath. I made about 35 pom poms. I ran out of yarn, and ended up using 3 different types of off white yarn. I think the slight variation in color and texture gave it some added interest.

Step 10.
Decide where you’d like the trimmings, and attach them to the wreath with hot glue. It helps to hang the wreath on a wall while you do this.

And you’re done! Stand back and admire your new pom pom wreath!

Do you want some more holiday door decor inspiration? Click the link below to check out what my talented blogger friends have created!
I’ll be participating in two blog hops on Friday, Thanksgiving Tablescapes and Holiday Cookies. I’d love if you stopped by 🙂
Until next time,
Rebecca


It’s beautiful and so fluffy and cozy! I also love the all white & neutral style!
Absolutely darling and festive! It’s nice to be early, sometimes isn’t it. I am always right on the cusp of being early or late.
Thanks for sharing your step by step tutorial, Rebecca!
Thanks Meegan! It does feel good to be early since it happens so infrequently for me lol!
I love this so much — I did mind with yarn and pom poms, too!
I love how fluffy the wreath is. You did a great job, and I can’t wait to see all of the blog hop ideas.
Thank you Rachelle! There’s a lot of talented bloggers on this hop…you’ll definitely enjoy checking them out.
BTW – I had an awful migraine this afternoon, so I wasn’t able to finish the link party. Celebrate Your Story! will go live tomorrow at 8pm. Sorry for any inconvenience!
So cute Rebecca!! Love the fluffy pom poms!
Thanks Jenna! I had fun making the pom poms. Please come back tomorrow at 8pm for CYS…I wasn’t feeling well enough to finish it earlier today.
This is adorable! Can a wreath look cozy? Well this one certainly does!
Can yon believe I almost named it “cozy pom pom wreath?” I had the same thought! It reminds me of a fuzzy sweater 🙂 Thanks so much for stopping by Pamela!