DIY 2×4 Bajot Table

Several months ago when I was at Pier One, I saw a very low to the ground wooden table that caught my eye. I imagined using it to elevate a centerpiece on a tablescape, or as a decorative accent on a coffee table. I didn’t buy it because it was a bit pricey. As I was trying to think of a project for the August At Home DIY Challenge, the little table popped back into my thoughts. Because I needed to make something from mostly 2×4’s, I decided to try to create my own version of the table.
After doing some research, I learned that the table is known as a bajot table. These tables were used for floor dining or spiritual offerings.

I went to our local hardware store and bought a 2×4…it set me back about seven bucks. I had them cut it into five 18 inch pieces. If you’ve read my blog before, you know that I have a healthy fear of power tools. If you can relate, I’m your girl! Despite this aversion, I always seem to find a way to make things work.

First, I sanded all of the 2×4’s to remove any rough spots.

I laid the 2×4’s down side by side in my desired arrangement. It’s not perfect, but good enough for me 🙂

This wood glue was recommended by the hardware clerk. I don’t plan to put anything very heavy on my table, so I just used glue and skipped the nails.

I put a generous amount of glue on the 2×4’s…

…and stuck them together.

I put glue in the seams where there were gaps.

Then I wiped away the excess glue with a wet rag.

It occurred to me that the 2×4’s would adhere to the piece of wood underneath, so I moved them to the top of an old frame. I let them dry partially, then I lifted the bonded 2×4’s off of the frame. There was some adhesion to the frame underneath, but I was able to get them off pretty easily. Then I let the glue dry for 24 hours.

For feet, I used four wooden craft balls that I found at a tag sale. You can find these at all the major craft stores. I rested the table atop the balls until it was stable on all sides.

Then I marked the placement of the feet underneath with a sharpie.
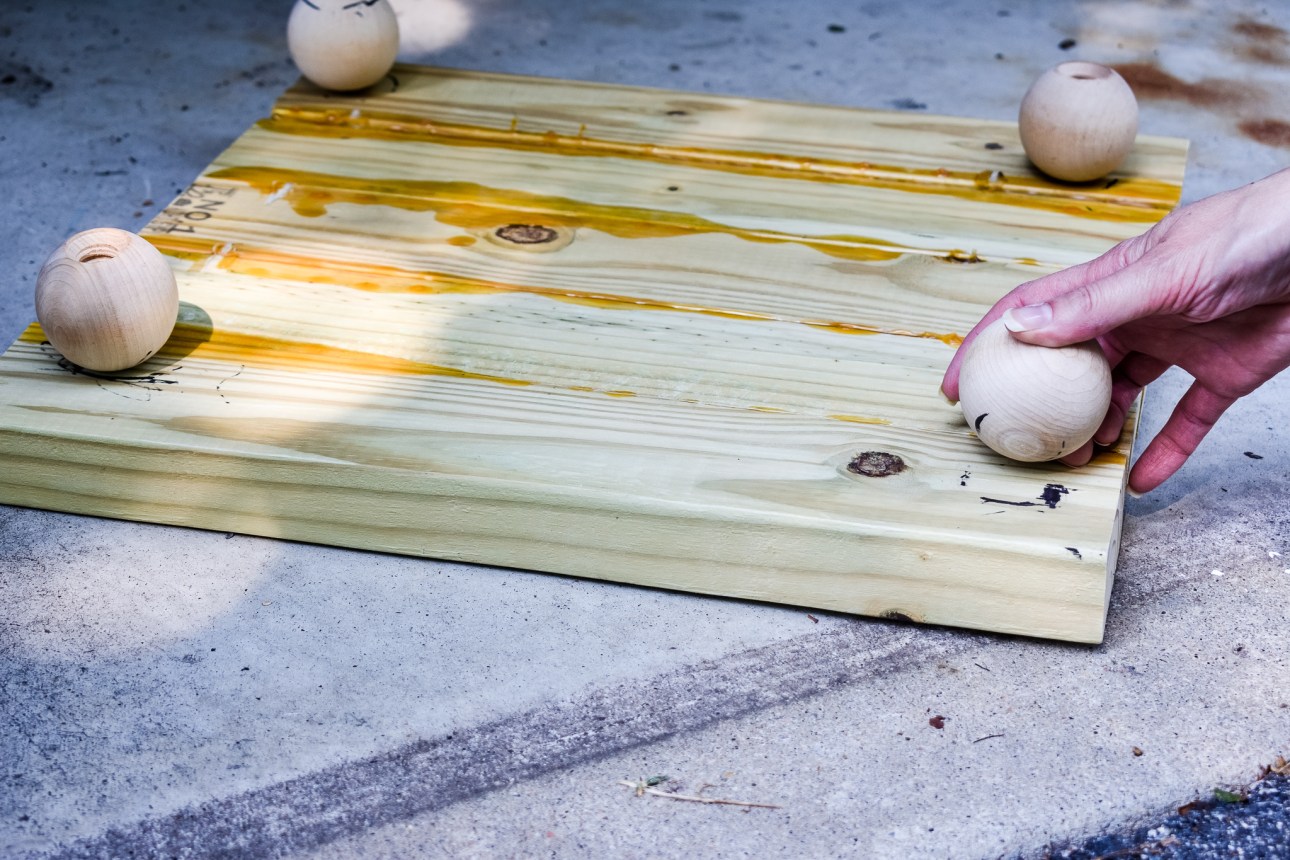
You can see all of the dried glue underneath. I found that the flat side of the wooden balls worked best on the ground.

I glued the feet to the bottom and waited another 24 hours for the glue to dry.

I painted the feet first. I didn’t bother to paint the bottom of the table as it won’t be visible. It would’ve been tough with all of the dried glue, as well.

Then I painted the edges. I used Dixie Belle Chalk Mineral Paint in Fluff.

And finally the top. I ended up painting three coats to get full coverage. I decided not to distress the paint.
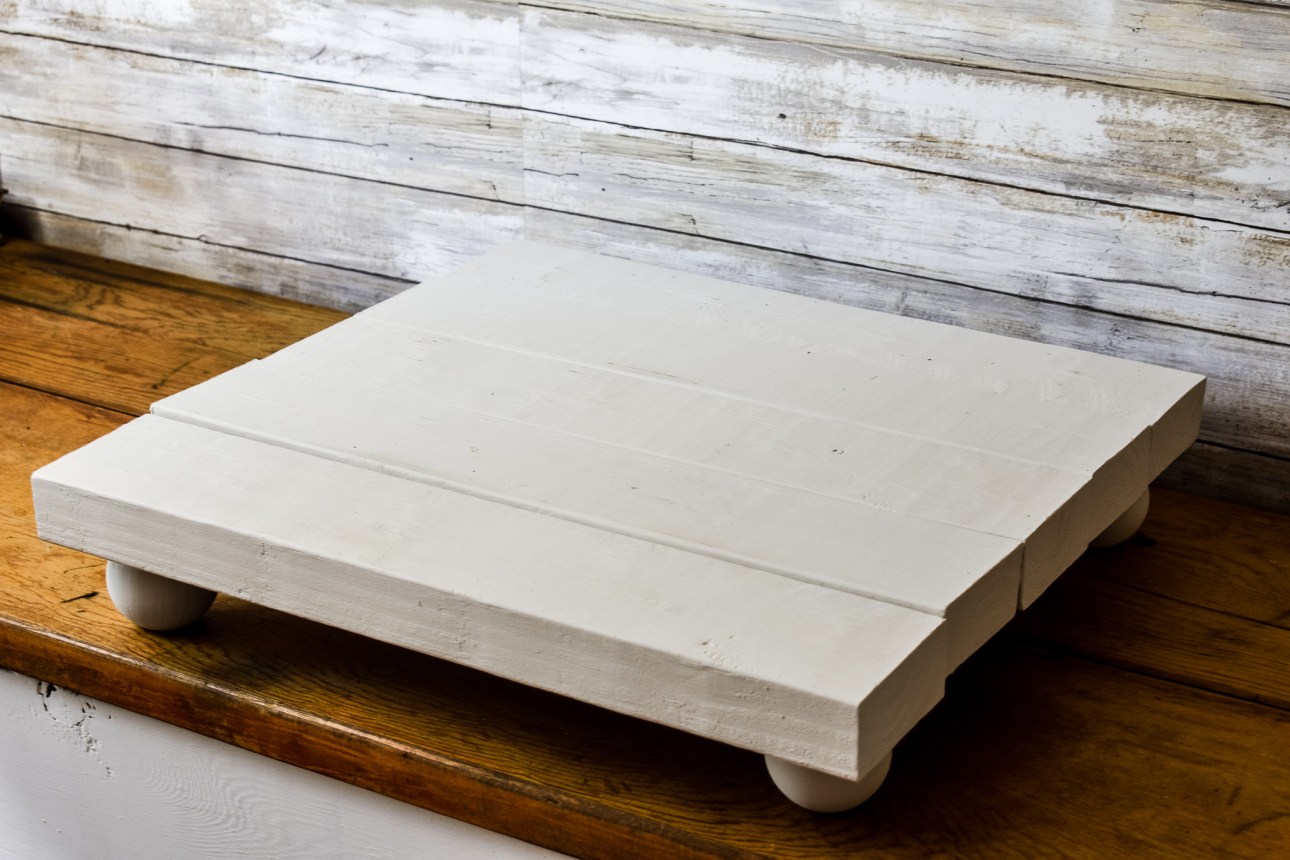
I’m so happy with how it turned out!

If you enjoyed this project, then you have to check out what my friends from the At Home DIY group created with their 2×4’s this month! A big thank you to Eileen from Just Measuring Up and Megan from Two Feet First for organizing these challenges. Just click on the link below to view all of the projects!
Thanks for stopping by! I’d love if you came back tomorrow morning for the Late Summer Tablescape Blog Hop. There will be about 25 table stylists participating. You don’t want to miss it!
Enjoy!
Rebecca


Thanks for the suggestion of using craft balls for the feet of your bajot table. I want to make a set of shelves for a corner of my room and I wanted bun feet, but the stores sell them for a fortune! This will work perfectly.
Love your DIY project and your pretty vignette. I’m excited to feature it this week on Tuesday Turn About. Thanks for sharing it with us!
Aww, thanks Michelle! What a nice surprise 🙂
What is that old saying??? Great minds think alike! I had no idea we would both be posting about the little risers and I added the frosted mirror that your post inspired me to create. So much fun creating with friends!
Happy Fall,
See you at the live Friday!!
Hugs,
Kippi
We sure do seem to have the same taste!!! I’m so glad we met and connected at Haven, my friend!
This is so pretty Rebecca! Loving your projects!
Thanks Eileen! These challenges have been so much fun!
I am always looking for something to give objects “just a little more height” in the middle of a vignette… this looks perfect! Thanks for sharing!
Thanks Betsy! I had the same thought…this will be great for creating vignettes! It was so nice to meet you at Haven. Thanks for stopping by!
What a cute project, I love that you were able to make it with no power tools at all. Wood glue is amazing stuff and having them make cuts at the store is a service no many people know about. It’ looks great on your table top, love it!